
Every book comes with free bookmarks you can print at home. Each one is a single strip that you fold in half and glue, so it comes out thick and strong.
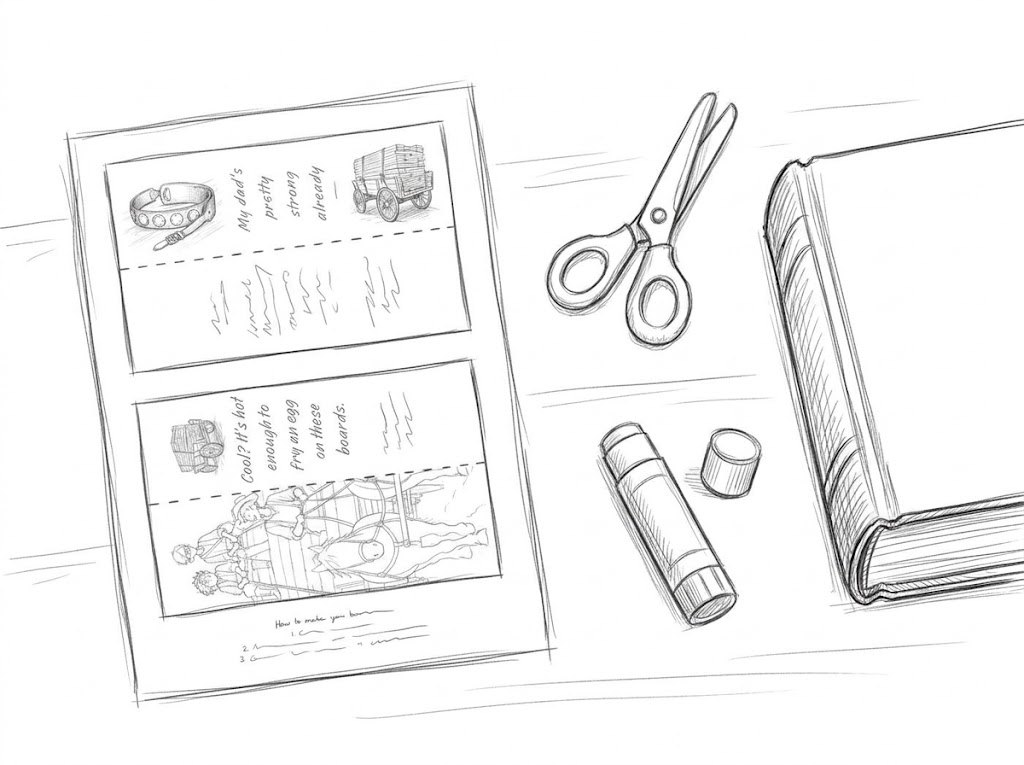
What you need
- Your bookmark file, printed in color
- Scissors
- A glue stick
- A heavy book
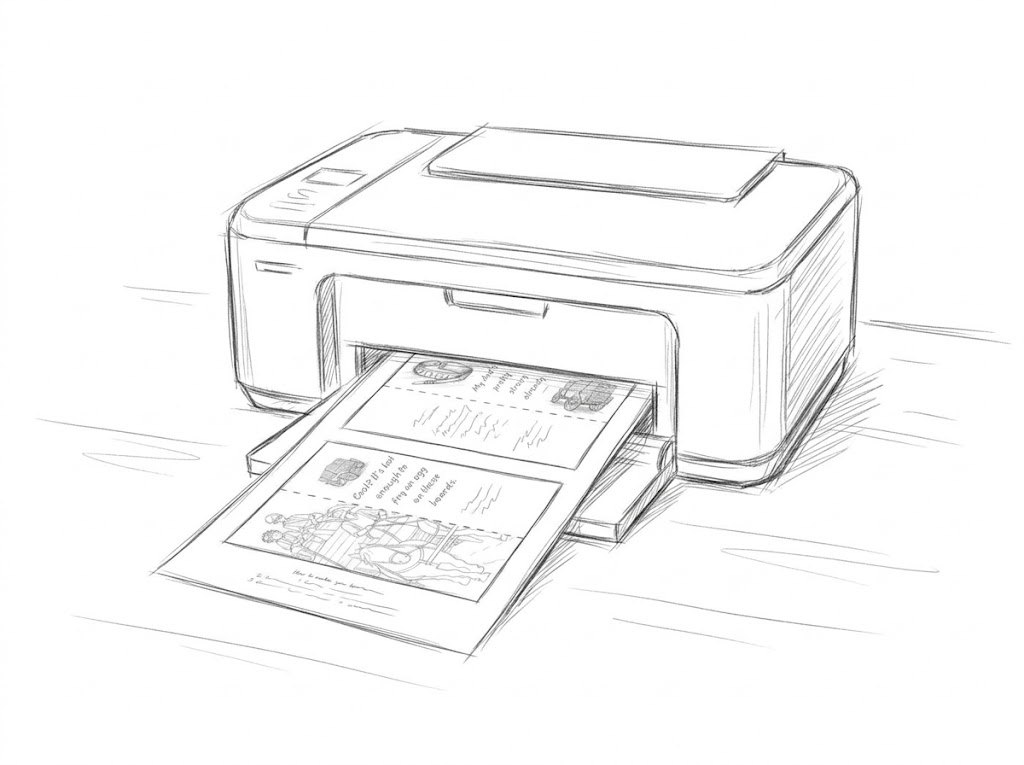
1. Print it
Print the file in color, on regular paper or thin card stock. Choose Portrait and Actual size (100%).
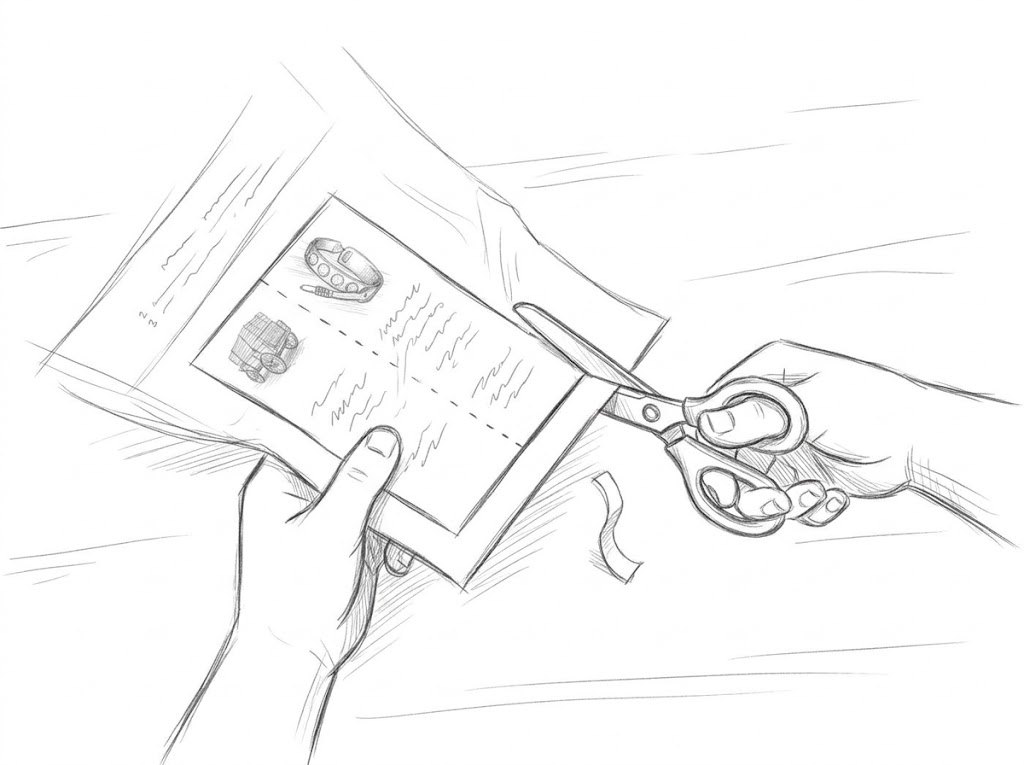
2. Cut it
Cut along the solid gray line around each bookmark. Stay right on the line so no white edge is left.
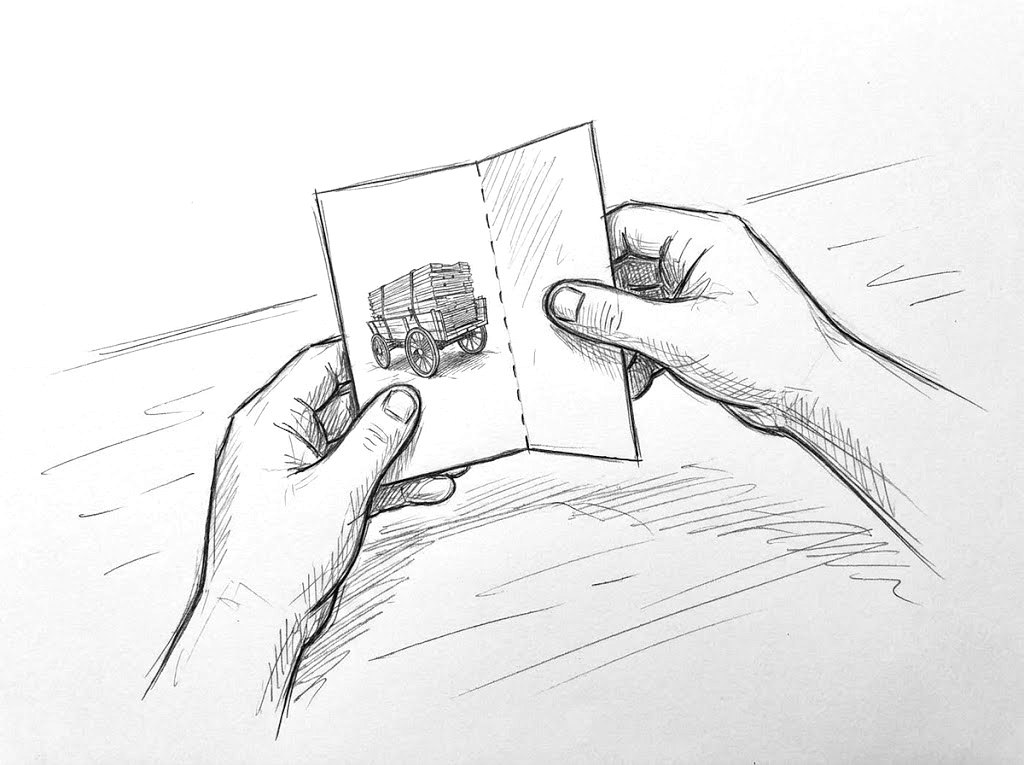
3. Fold it
Fold on the dashed line in the middle, with the picture and the quote on the outside. Press the fold flat with your thumbnail.
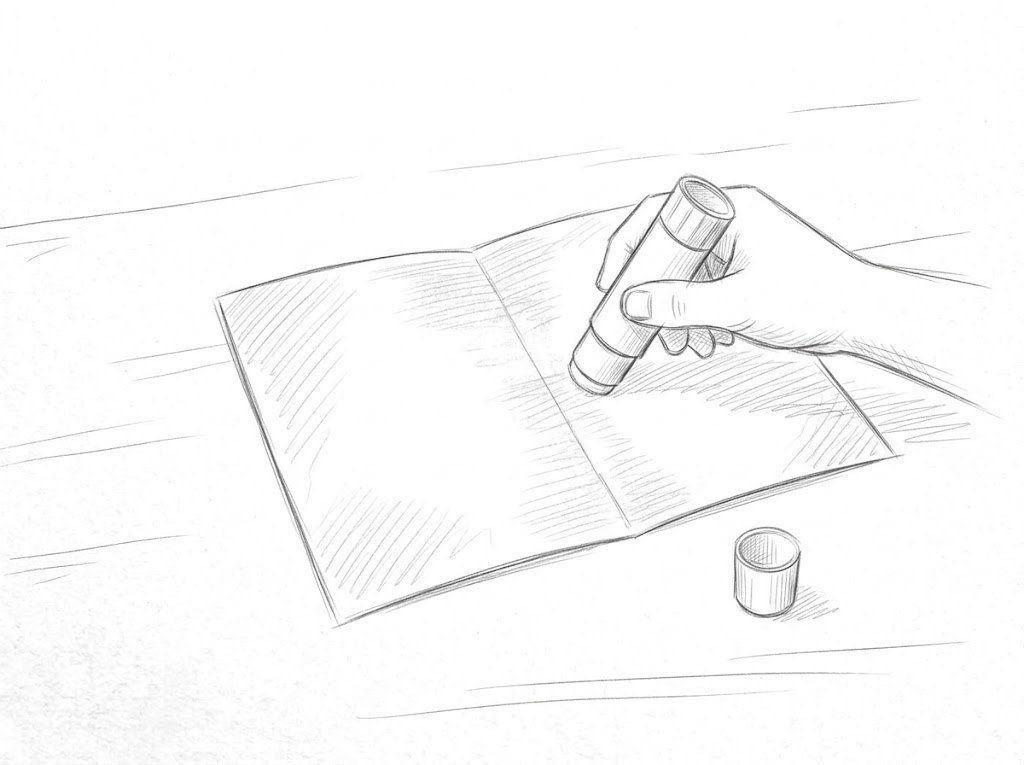
4. Glue it
Open it, spread glue over the whole inside, right up to the edges, and close it. Press it flat.
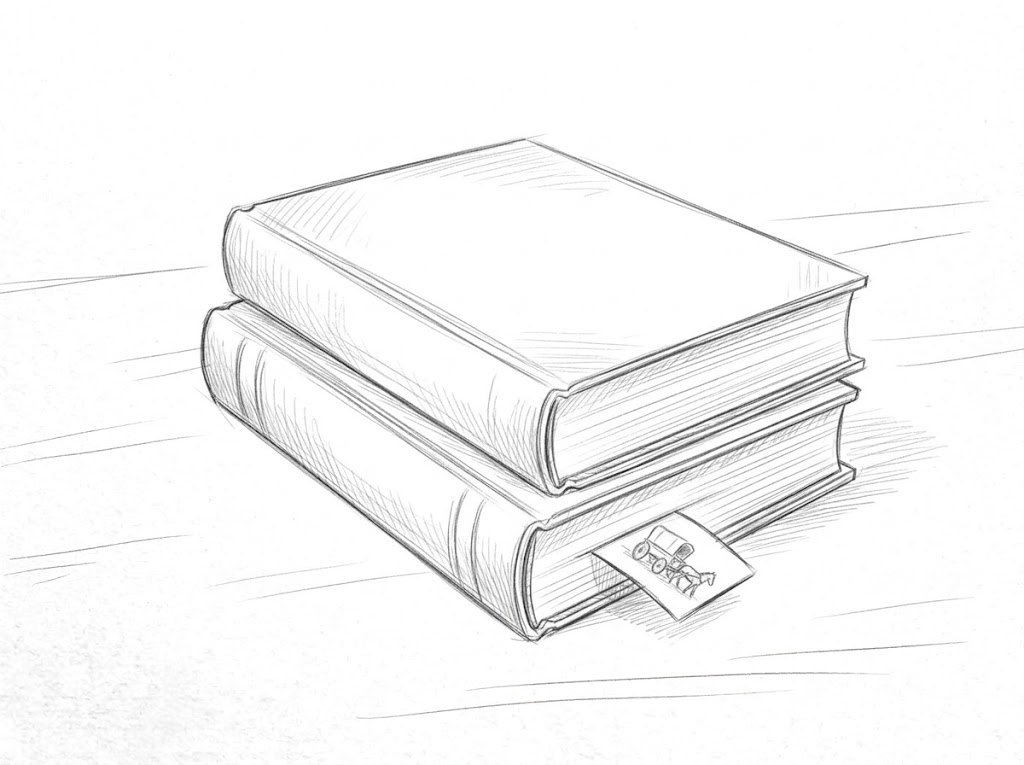
5. Let it dry
Put it inside a heavy book overnight, so it dries flat and doesn’t curl.
These bookmarks are free for you to use at home or in your classroom. Please don’t sell them or print them for sale.