
Every book comes with a free puzzle you can print at home. Here’s how to turn it into a real one.
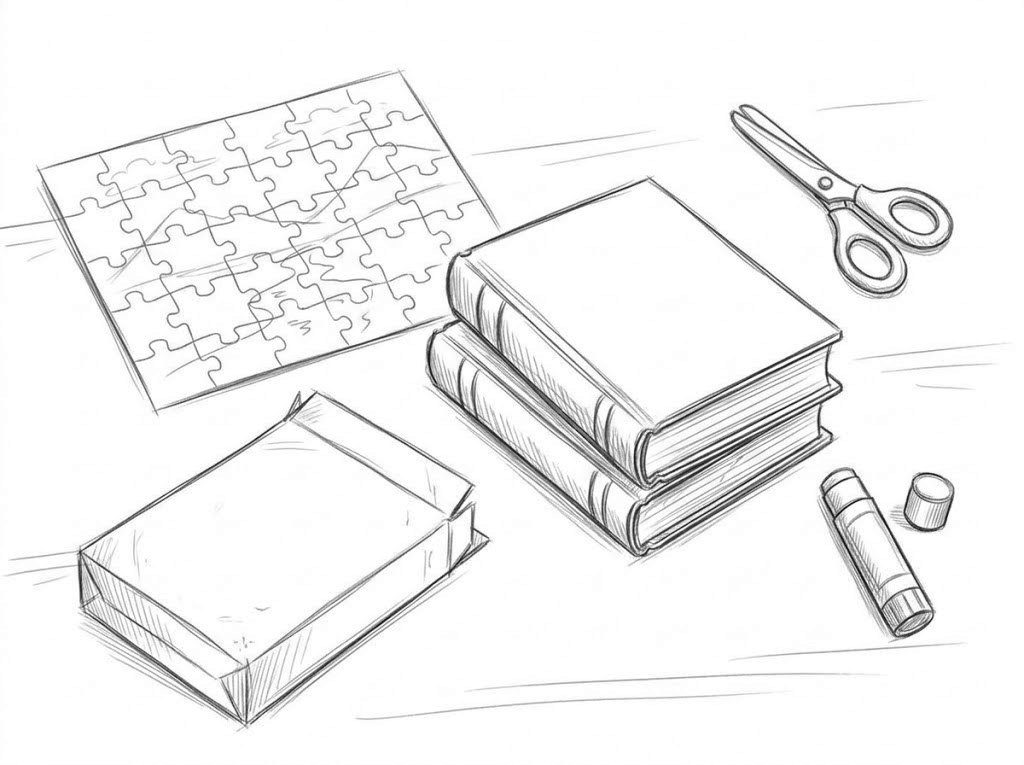
What you need
- Your puzzle file, printed in color
- A glue stick
- Poster board, card stock, or the side of an empty cereal box
- Scissors
- A few heavy books
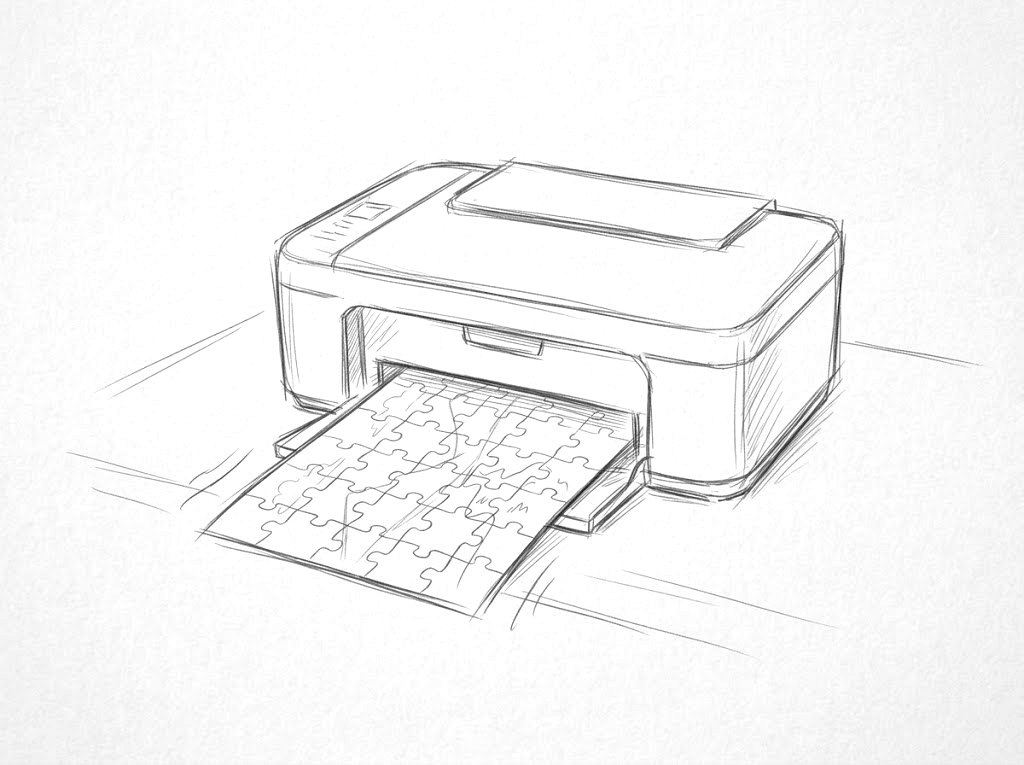
1. Print it
Print it on regular paper, in color. Choose Landscape and Actual size (100%), and the best quality your printer has.
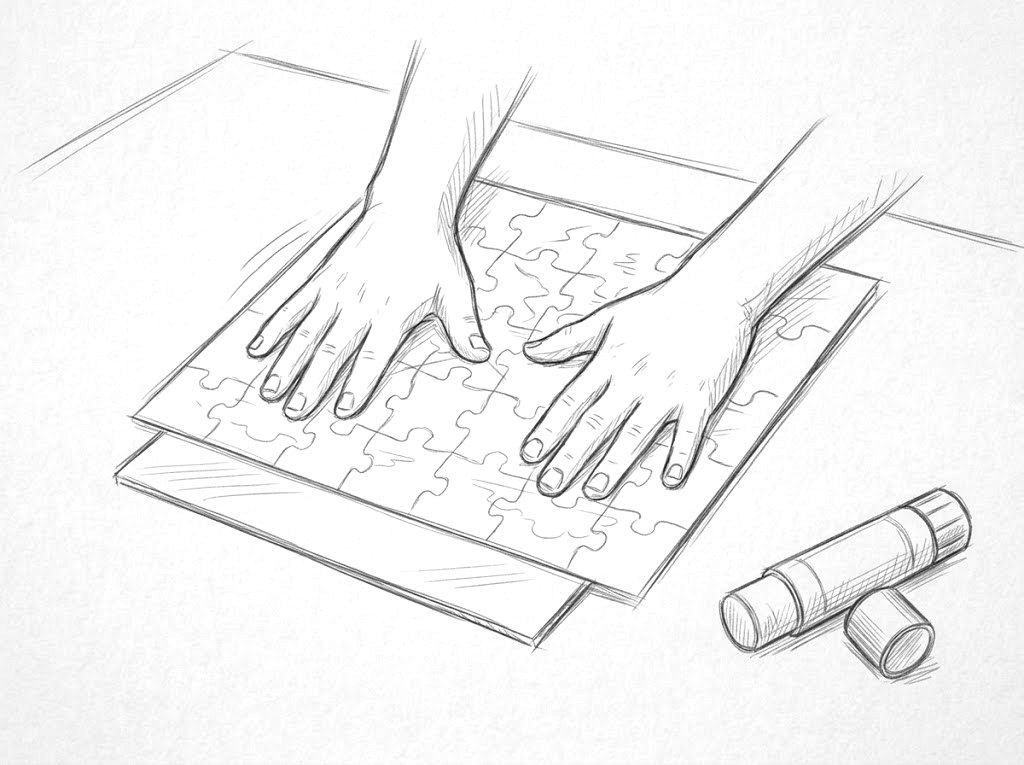
2. Glue it
Spread glue all over the back, right up to the edges. Press it onto the board and smooth it from the middle to the sides, so no bubbles are left.
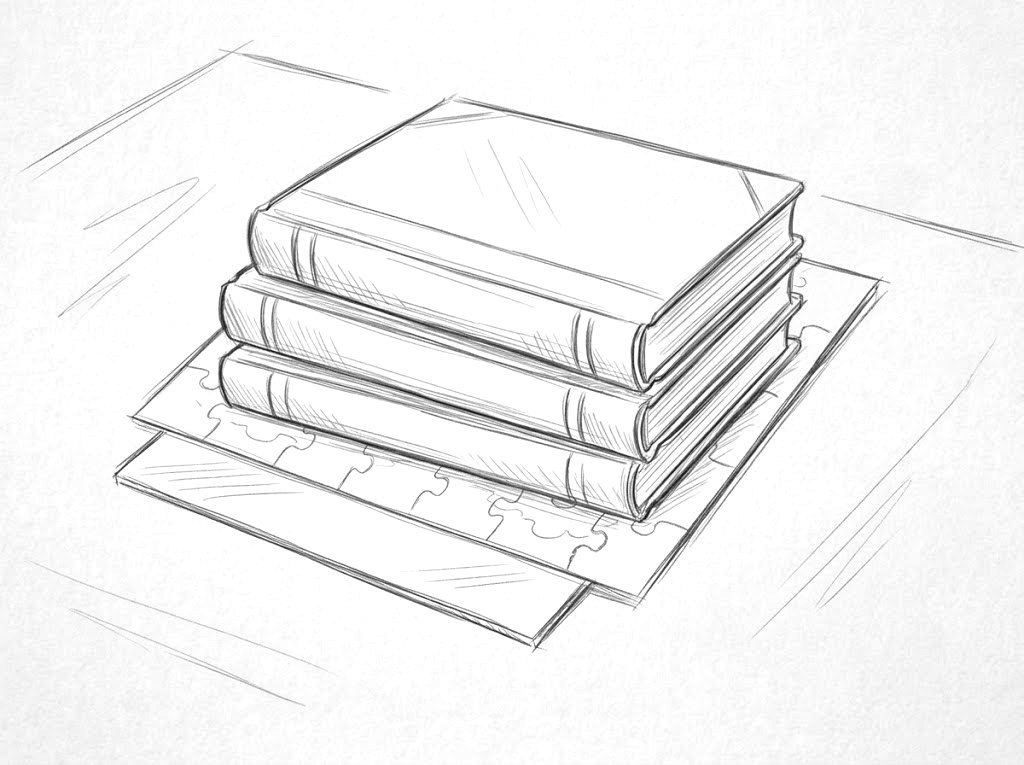
3. Let it dry
Put it under a stack of heavy books so it stays flat, until the glue is completely dry. Overnight is best.
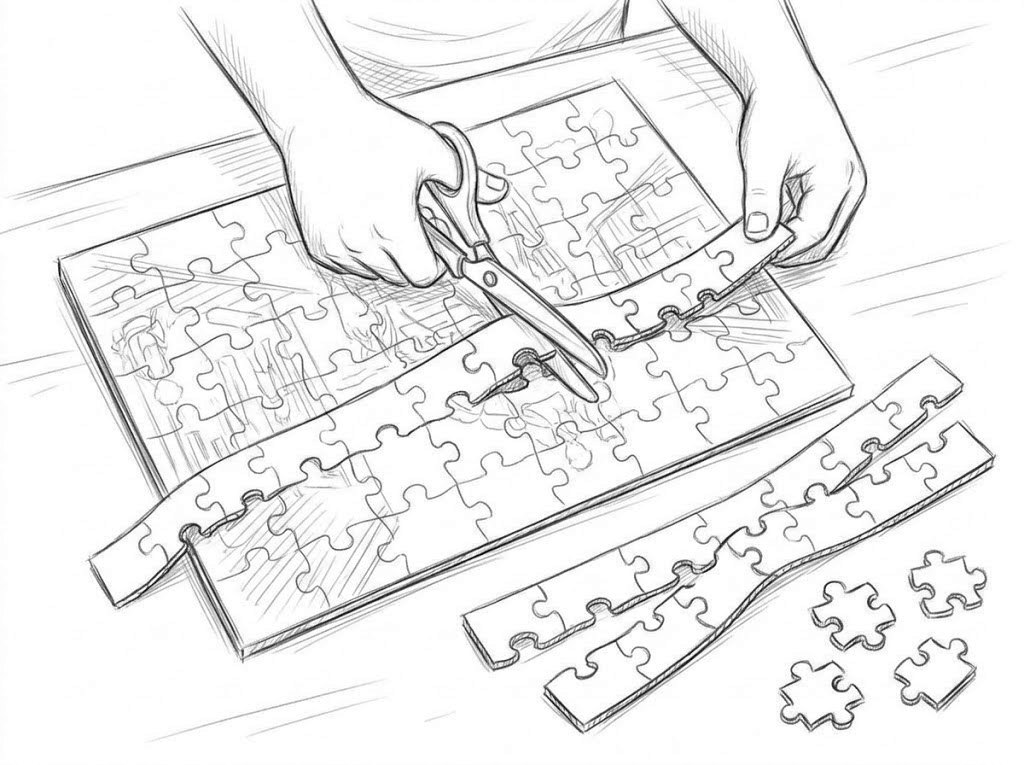
4. Cut it
First cut along the long wavy lines that go across, to get strips. Then cut each strip into pieces. Go slowly around the round tabs. If the board is thick, ask a grown-up to help.
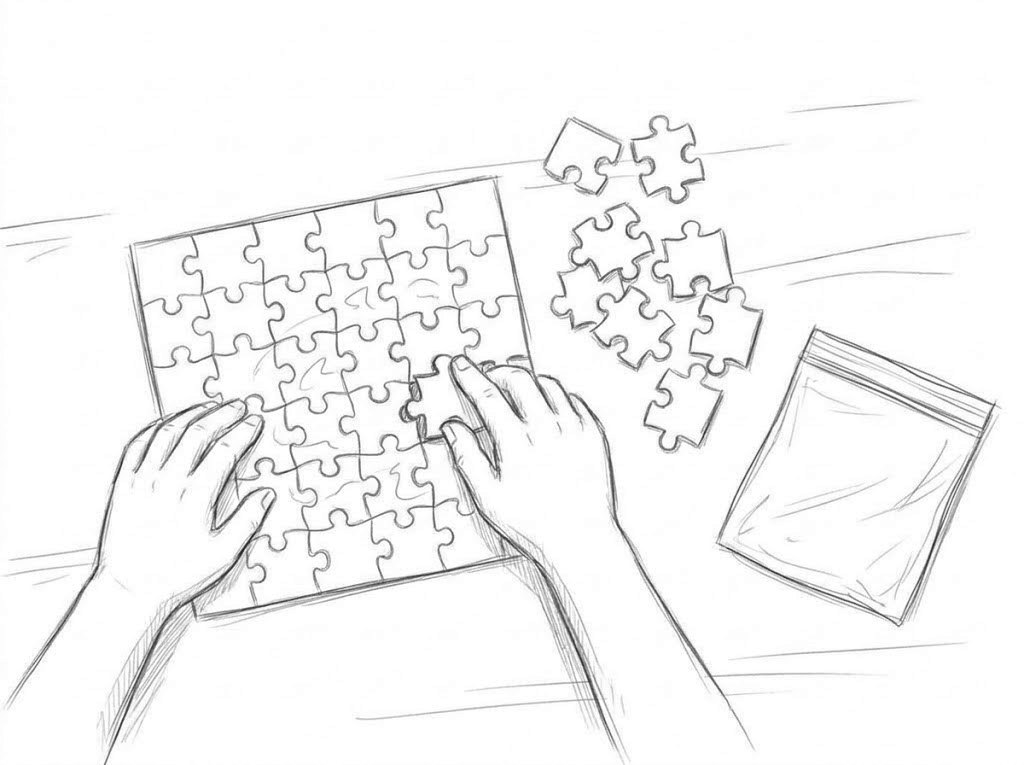
5. Play!
Keep the pieces in an envelope or a zip bag so none get lost. Want a picture to look at while you build? Print one more copy and leave it whole.
This puzzle is free for you to use at home or in your classroom. Please don’t sell it or print it for sale.